MComposer and MMixer object allow you to use many streams at the same time. You make a scene for your streams. You place scene's elements on correct positions. But when you need to change the scene's configuration you forced to change the active scene to another one. Of course it is not so convenient because the changes in this case are implemented immediatelly. If you'd prefer the switch between scenes when all the elements implement new parameter smoothly you need a transition between scenes.
Transitions between scenes are implemented directly into the scene. In this article we'll discuss how to make a transition within a scene.
Lets research it on easy (2D) example of MMixer object.
It is known that Mixer's scene contains 2 elements: <foreground> and <view>. Foreground contains all the elements that you place on a scene. And view is commonly empty. So the magic of transition between scenes is hidden in the <view> node of mixer's scene.
It is better to imagine <foreground> node as a container for scene's elements. And <view> as a set of scenes to be displayed. Where some view is always active.
Let's look at the some mixer's scene:
<m_scene name='group_000'>
 <foreground show='true'>
  <video id='video_001' stream_idx='0' h='0.4' w='0.3' show='true' x='0.2' y='0.2'/>
  <video id='video_000' stream_idx='1' h='0.4' w='0.3' show='true' x='-0.3' y='0.2'/>
 </foreground>
 <view show='true'/>
</m_scene>
Well, the scene contains 2 elements for 2 streams. Each element of a scene has its own ID (look at id attribute) - it will be used later. And <view> is empty. So in this case when you add 2 streams to mixer they will be displayed according to the scene's configuration. Let's create some views for this set of elements.
Add into <view> node a child <view> node and customize it.
<view show='true'>
 <view id="MainView">
  <video target_id='foreground::video_001' stream_idx='0' h='0.4' w='0.3' show='true' x='0.2' y='0.2'/>
  <video target_id='foreground::video_000' stream_idx='1' h='0.4' w='0.3' show='true' x='-0.3' y='0.2'/>
 </view>
</view>
Here we made a view that duplicates the current <foreground> configuration. The main difference is that we have changed "id" attribute with "target_id". This attribute points to <view> what exact element should be modified when this <view> is implemented. You should set the full path to the required element - the "::" is used as a separator for the tree structure. Also, we can set any attributes that we want to modify when the view is implemented. So it is not required to set stream_idx or show if we want to keep them unchanged. In this case, all the other settings will be implemented from the <foreground> elements.
Let's create a new view.
<view show='true'>
 <view id="MainView">
  <video target_id='foreground::video_001' h='0.4' w='0.3' x='0.2' y='0.2'/>
  <video target_id='foreground::video_000' h='0.4' w='0.3' x='-0.3' y='0.2'/>
 </view>
 <view id="SecondView">
  <video target_id='foreground::video_001' h='0.7' w='0.9' x='0.5' y='0.5'/>
  <video target_id='foreground::video_000' h='0.5' w='0.2' x='-0.1' y='0.3'/>
 </view>
</view>
Look closer at the SecondView. It contains the same elements with the same target_id. But the values of size and position are modified. So when we implement the SecondView with an ElementInvoke method with some dblTimeForChange parameter (that is not 0) the transition will be implemented smooth.
To get back to the previous state we should invoke the MainView.
Just for fun lets create a ThirdView where we'll use only 1 element:
<view show='true'>
  <view id="MainView">
   <video target_id='foreground::video_001' h='0.4' w='0.3' x='0.2' y='0.2'/>
   <video target_id='foreground::video_000' h='0.4' w='0.3' x='-0.3' y='0.2'/>
  </view>
  <view id="SecondView">
   <video target_id='foreground::video_001' h='0.7' w='0.9' x='0.5' y='0.5'/>
   <video target_id='foreground::video_000' h='0.5' w='0.2' x='-0.1' y='0.3'/>
  </view>
  <view id="ThirdView">
   <video target_id='foreground::video_001' h='1' w='1' x='0' y='0'/>
  </view>
</view>
In this ThirdView (when we invoke it) the video_001 element will be displayed on a full screen and the video_000 element will be unchanged from the previous view.
So the <view> node keeps a very flexible feature of scene's transition.
The whole scene looks like:
<m_scene name='group_000'>
 <foreground show='true'>
  <video id='video_001' stream_idx='0' h='0.4' w='0.3' show='true' x='0.2' y='0.2'/>
  <video id='video_000' stream_idx='1' h='0.4' w='0.3' show='true' x='-0.3' y='0.2'/>
 </foreground>
 <view show='true'>
  <view id="MainView">
   <video target_id='foreground::video_001' h='0.4' w='0.3' x='0.2' y='0.2'/>
   <video target_id='foreground::video_000' h='0.4' w='0.3' x='-0.3' y='0.2'/>
  </view>
  <view id="SecondView">
   <video target_id='foreground::video_001' h='0.7' w='0.9' x='0.5' y='0.5'/>
   <video target_id='foreground::video_000' h='0.5' w='0.2' x='-0.1' y='0.3'/>
  </view>
  <view id="ThirdView">
   <video target_id='foreground::video_001' h='1' w='1' x='0' y='0'/>
  </view>
 </view>
</m_scene>
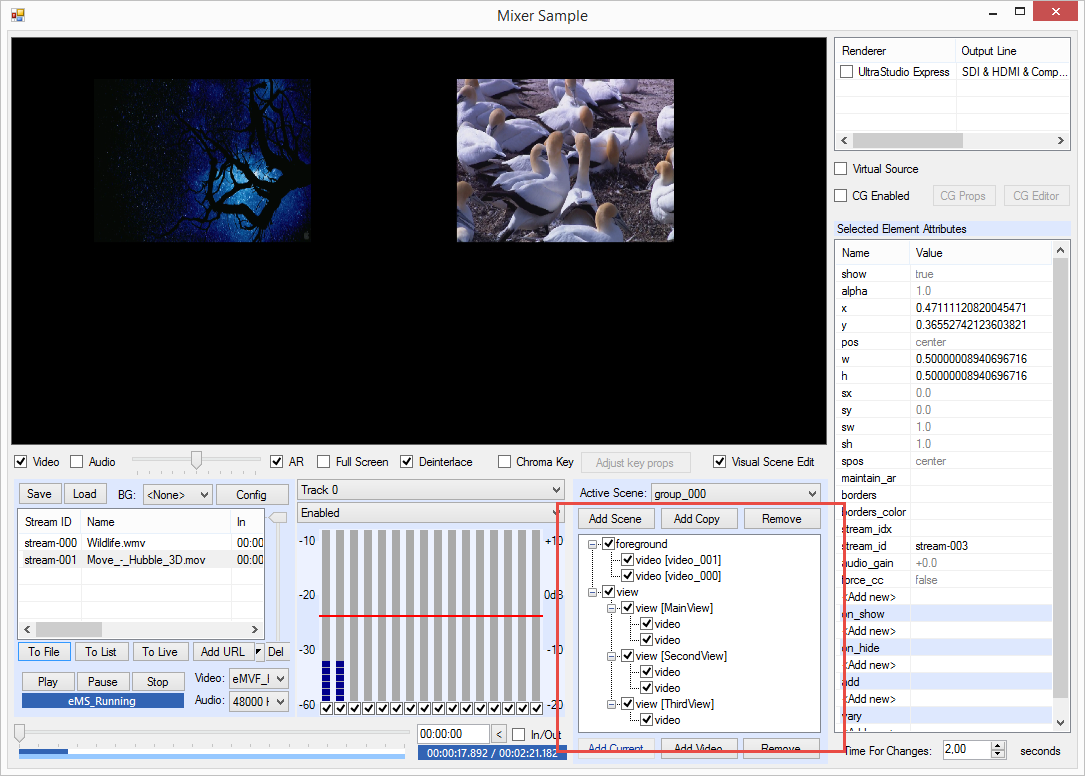
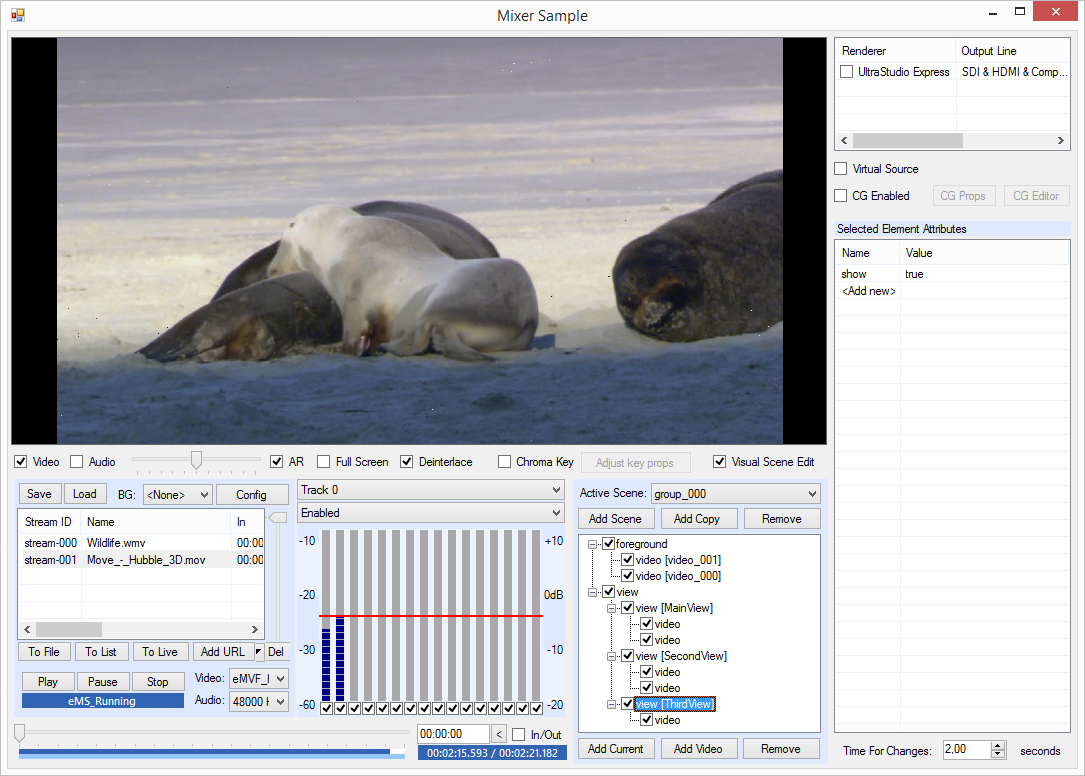
Let's implement it for our mixer. Run the Mixer Sample and load this scene for mixer.В The default view (when the foreground is used):
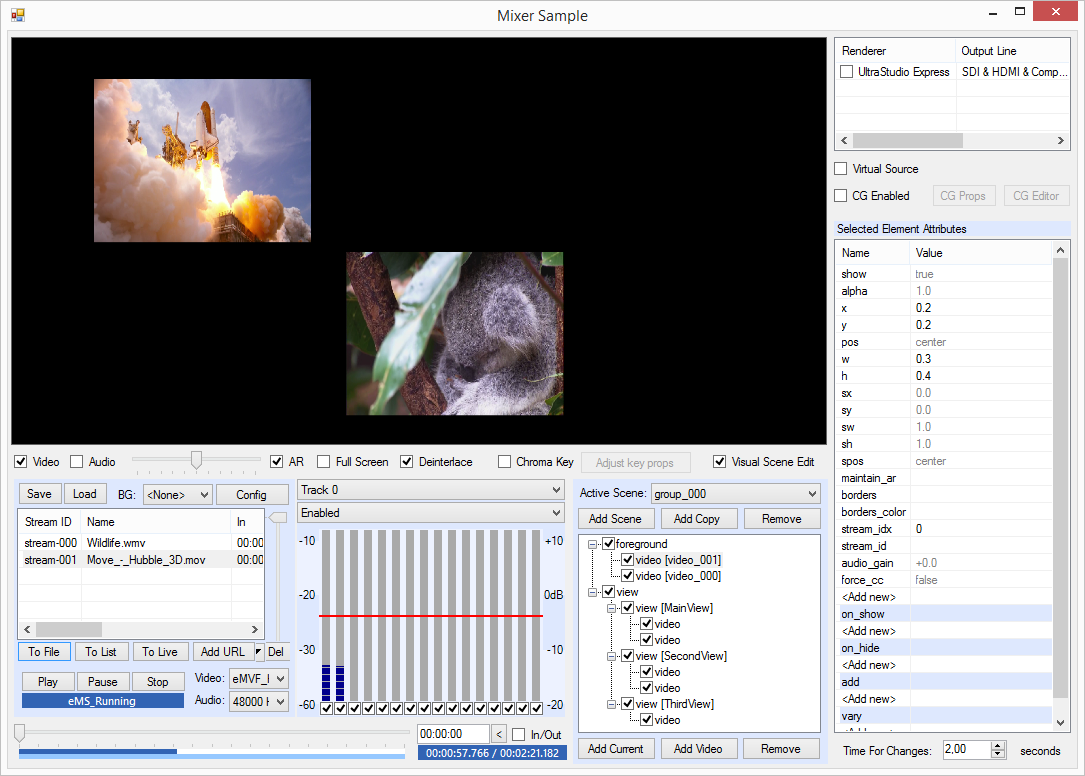
Let's change the position by moving an element:
Lets implement (call ElementInvoke method) for the MainView:
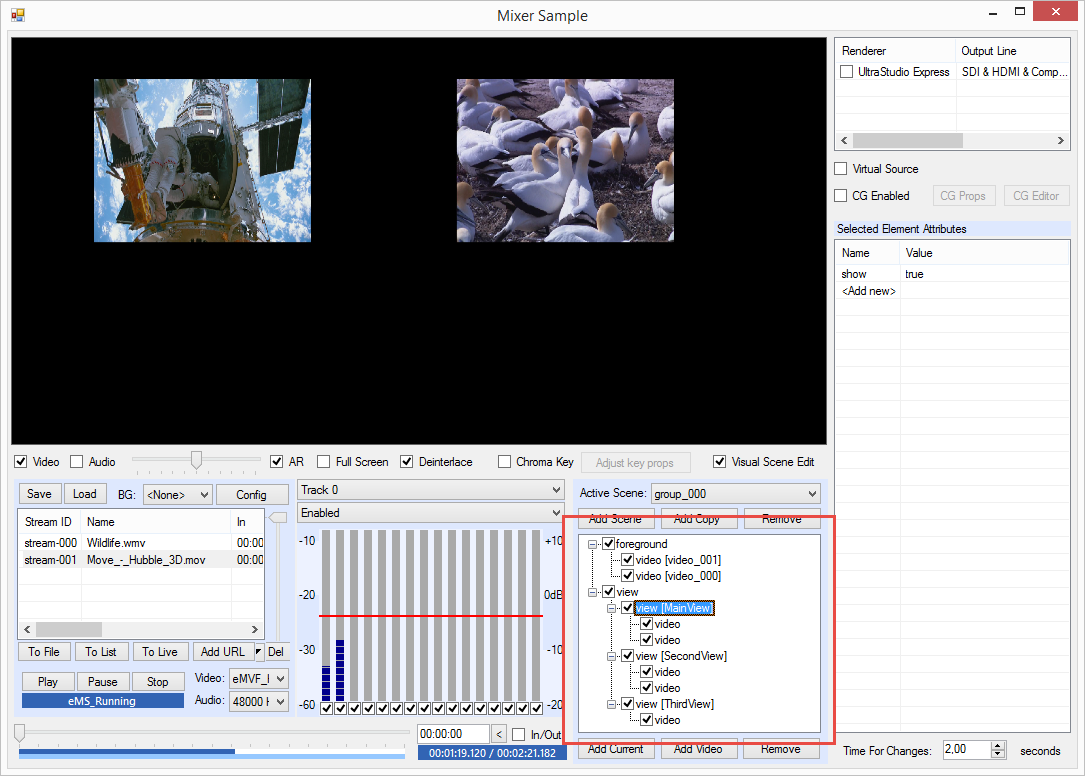
It goes back to previous values with the Time For Change time. Go further. Invoke the SecondView:
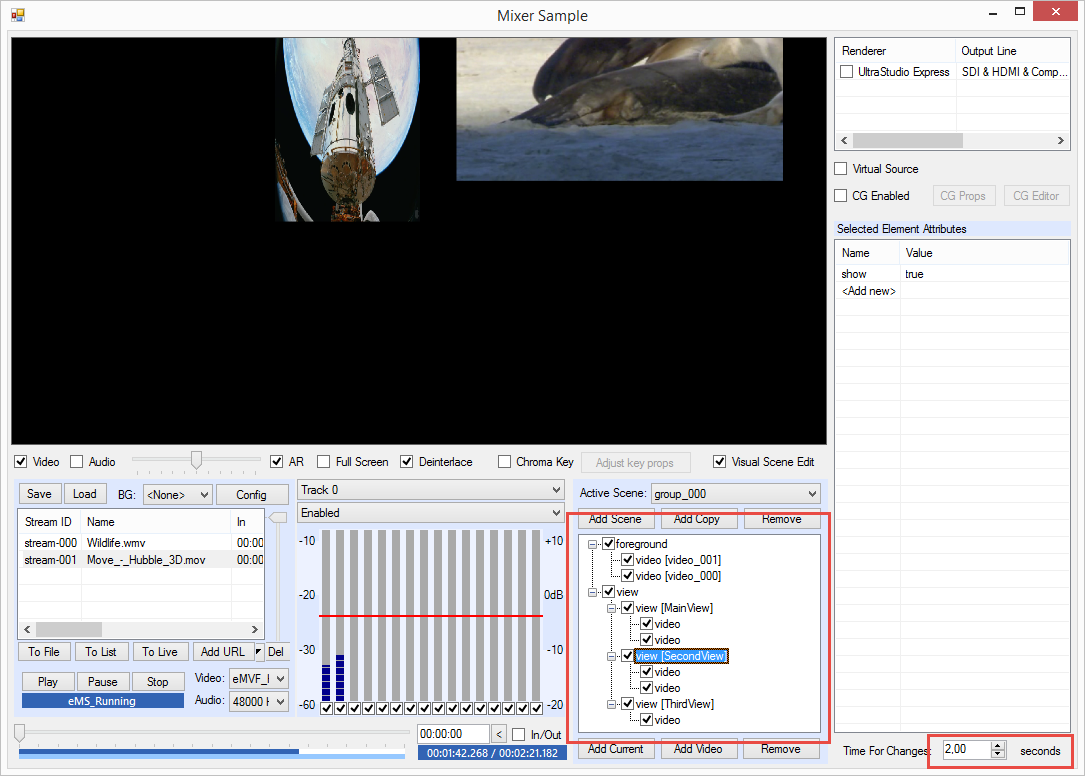
And then go to ThirdView:
You can use any available attributes to modify elements of your views. Try to create your own and have fun with this really useful feature.
